


In this tutorials, I will show you how you can make use of Vanishing Point feature of Photoshop. By this you can apply your picture to any buildings, walls, bedsheets & much more other things.
You need these two pictures of wall & starsburst for this. You can also use your own images for this.
Step-1: Open the Wall and starburst picture in photoshop, select starburst all picture by pressing ctrl+A & copy it by ctrl+c. We'll use it later.
Step-2: Come to our image of wall, go to Layer > New > Layer and the new layer is created & named it vanish.
Step-3: Now by selecting vanish layer, go to Filter > Vanishing Point or press Alt+Ctrl+V.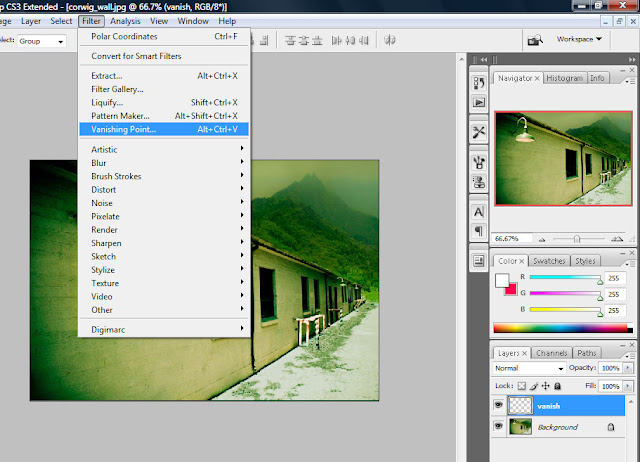
The vanishing point window will be open, by using Create Plane tool start to select the wall area on which you want to set your picture as shown. when you click third time than it automaticaly connected to first point.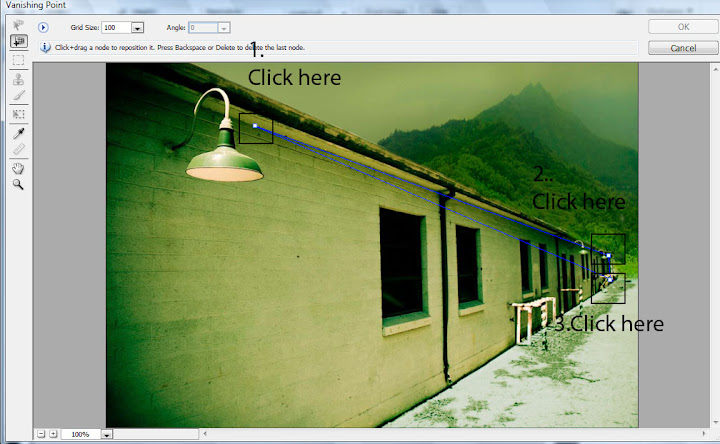
Now by click 4th time than it display the vanishing area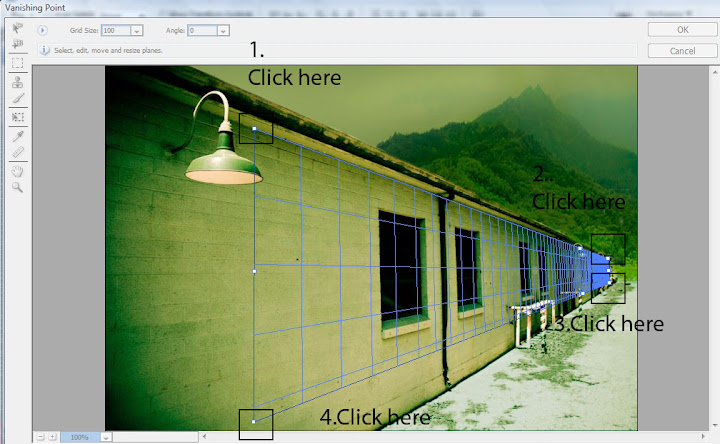
& change its size to show propely on wall as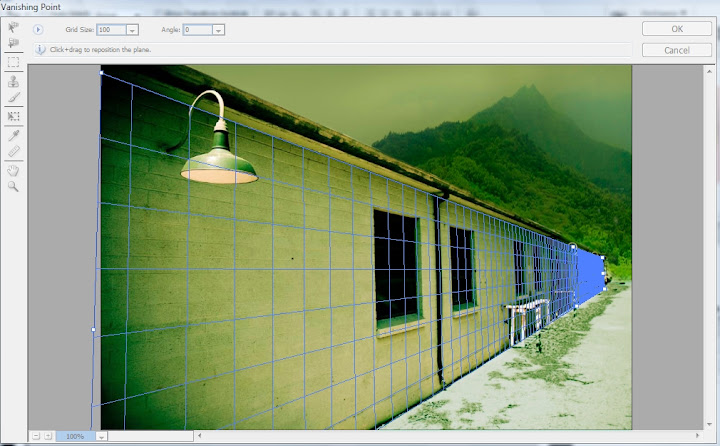
Its time to paste our Starburst picture here, that we'r copy earlier.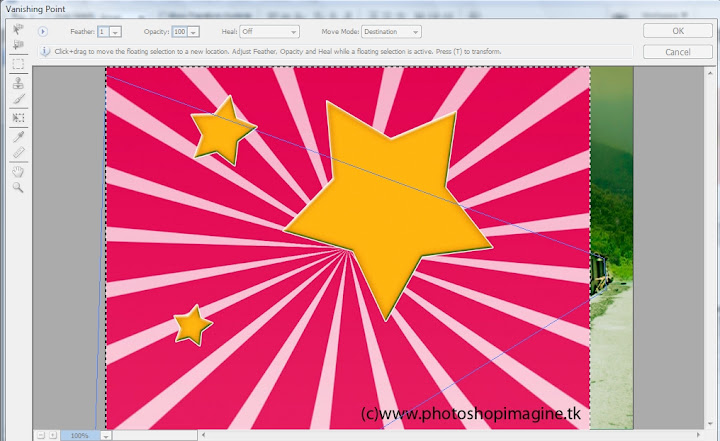
Now we'r using just simply drag n drop technique, using mouse drag it to the vanishing area as shown in picture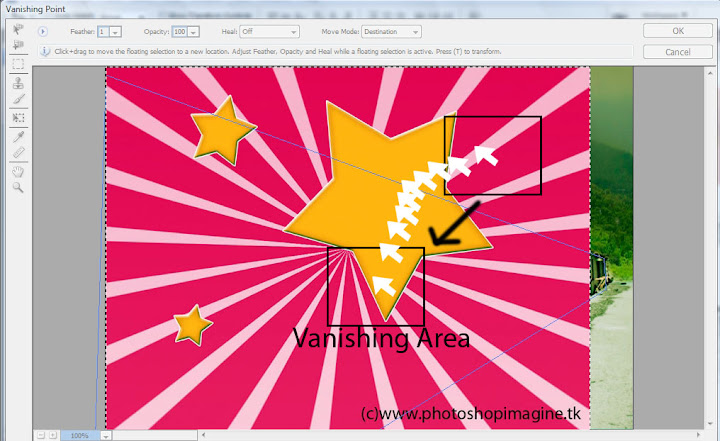
its appear as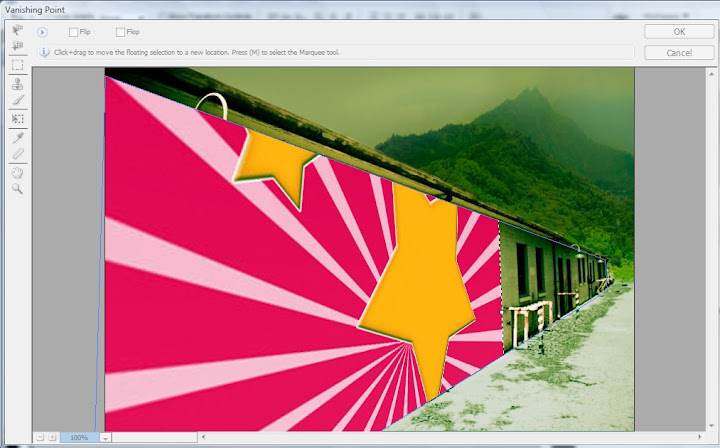
Now press Ctrl+T for adjust its size to properly shown to the wall.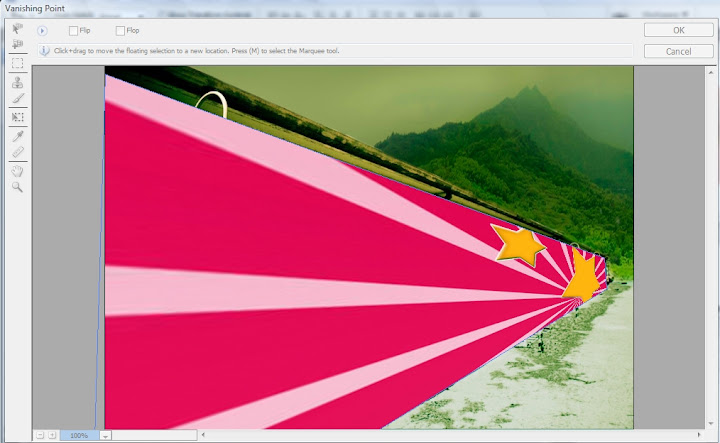
Step-4: Its my favourite part of the tutorials, change vanish layer mode to Soft Light and see the magic of vanishing point.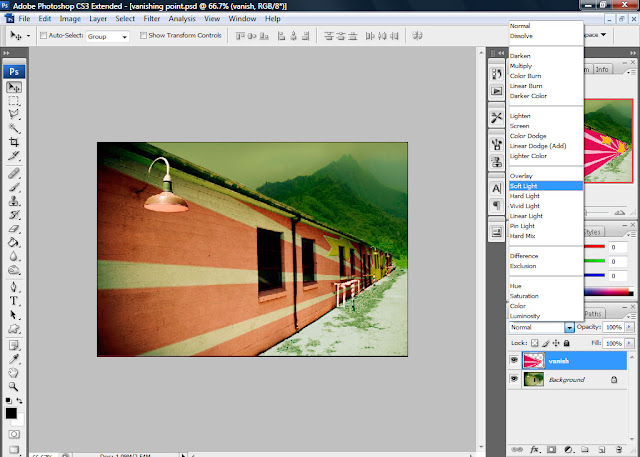
But there is some things in windows or light of wall that are not look good, like a red color on light, erase these things by using eraser tool or vector mask.
Thats we done!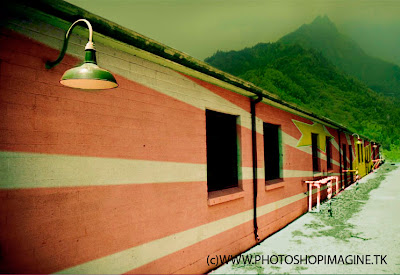
Thursday, July 30, 2009
Vanishing Point

Subscribe to:
Post Comments (Atom)


No comments:
Post a Comment